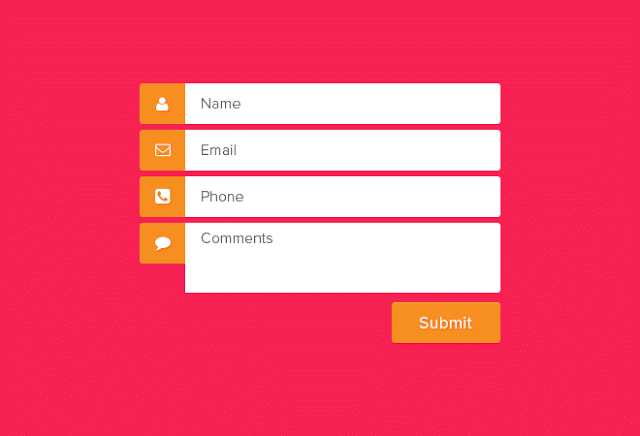
How to Install Blogger Contact Form On Static Pages
Also Read
 |
| Image owned by indzign.blogspot.com |
Yeah ! We usually use this widget at the sidebar But we do not know that this cause can give our site slower on loading page ,but don't worry this new style or trick to help you out from that so you might use it in your Static Pages That it improve you for more than you want . moreover you can also customize your own style for your Contact Form Too . You need to follow up our Tutorial How to Install Blogger Contact Form On Static Pages
1. First Step into installation you must Add A Widget Name That it stored in more gatgets Label : Contact Form where ever you want in your Layout Setting. By following Image Below :
2. After that you install your contact form it is your time to hide it from your every post . Just add some css to your widget by place below code code]]></b:skin> or </style> in your template then save it.
#ContactForm1 {display:none;}
3. Last step Go > Pages > New Pages Then give your new page a title that you want . Then add below code in HTML selection .
<form name="contact-form">
 Name
<input id="ContactForm1_contact-form-name" name="name" size="30" type="text" value="" />

Email Address <span style="color: #f56954; font-size: x-small; font-weight: bold;">important</span>
<input id="ContactForm1_contact-form-email" name="email" size="30" type="text" value="" />

Content <span style="color: #f56954; font-size: x-small; font-weight: bold;">important</span>
<textarea cols="25" id="ContactForm1_contact-form-email-message" name="email-message" rows="5"></textarea>
<input id="ContactForm1_contact-form-submit" type="button" value="Send" />
<div style="max-width: 222px; text-align: center; width: 100%;">
<div id="ContactForm1_contact-form-error-message">
</div>
<div id="ContactForm1_contact-form-success-message">
</div>
</div>
</form>
<style scoped="" type="text/css">
#comments {display:none;}
#ContactForm1_contact-form-name, #ContactForm1_contact-form-email{
height:auto;margin:5px auto;padding:10px;background:#fafafa;color:#444;border:1px solid #ccc;border-radius:3px;box-sizing:border-box;-webkit-box-sizing:border-box;-moz-box-sizing:border-box;transition:all 0.5s ease-out;}
#ContactForm1_contact-form-email-message{width:100%;height:175px;margin:5px 0;padding:10px;background:#fafafa;color:#444;border:1px solid #ccc;border-radius:3px;resize:none;transition:all 0.5s ease-out;}
#ContactForm1_contact-form-name:focus, #ContactForm1_contact-form-email:focus, #ContactForm1_contact-form-email-message:focus{outline:none;background:#fff;color:#444;border-color:rgba(81,203,238,1);box-shadow:0 0 5px rgba(81,203,238,0.7);}
#ContactForm1_contact-form-submit{float:left;background:#cf4d35;color:#fff;margin:10px auto;vertical-align:middle;cursor:pointer;padding:10px 18px!important;font-weight:700;font-size:14px;text-align:center;text-transform:uppercase;letter-spacing:.5px;border-radius:4px;border:0;transition:all .8s ease}
#ContactForm1_contact-form-submit:hover {background:#e45a40;color:#fff;}
#ContactForm1_contact-form-error-message, #ContactForm1_contact-form-success-message{width:100%;margin-top:35px;}
.contact-form-error-message-with-border {background:#f6f6f6;border:none;box-shadow:none;color:#444;padding:5px 0;}
.contact-form-success-message {background:#4fc3f7;border:none;box-shadow:none;color:#fff;}
img.contact-form-cross {line-height:40px;margin-left:5px;}
.post-body input {width:initial;}
@media only screen and (max-width:640px){
#ContactForm1_contact-form-name, #ContactForm1_contact-form-email,#ContactForm1_contact-form-submit{width:100%;}}
</style>